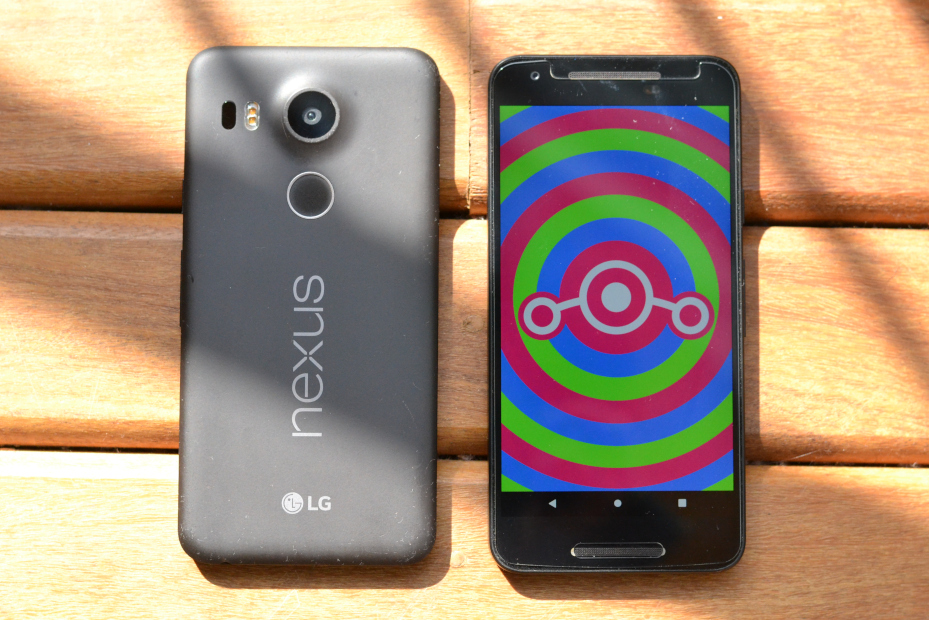
Nexus 5X (also know as bullhead) was launched in 2015, manufactured by LG and
designed by Google, and is the successor of Nexus 5. Even today, this device
has some nice features like its 12.3 MP Rear camera, fingerprint sensor, USB C
and a hexa-core ARM CPU. However, this last item was controversial: issues
during the manufacturing process could lead to a problem in the CPU soldering,
resulting in an infinite cycle of reboots, called Bootloop of Death (or just BLOD).
In this post, I’m going to show how I managed to overcome this issue (besides some story behind it) and install a fresh LineageOS 17.1 with MicroG.
As anything that you read in the internet, I can’t assure that this will solve your problem. I’ve written this in the in the best of intentions, but I’m not responsible for the destruction of devices, data, friendships or environments that you may cause by following my guide.
The Bootloop of Death
N5X has an heterogeneous 64-bit ARMv8-A CPU: four 1.4 GHz Cortex-A53 cores and two 1.8 GHz Cortex-A57 cores. This architecture, named as big.LITTE, was developed to have a nice balance of energy and performance: during a heavy load, the task scheduler will give the work to the two big cores, decreasing the latency for the end-user, for the price of higher energy use. In the meanwhile, the kernel will just use the four little cores, saving some battery.
However, between 2015 and 2016, someone took a wrong decision in a LG business meeting and a lot of devices got manufacturing defects, (e.g. G3, G4, G5, G7, V10, V20) including the Nexus 5X. The problem in bullhead was in the CPU assembling, where a bad soldering makes the big cores separated from the motherboard and unreachable by the operating system1. Then, seeing that something had failed, the system would reboot in the hope that things get better. And will go like that, again and again.
 Basic diagram of how the topology looks like in my mind
Shut up and give my money
LG acknowledged the issue and replaced the motherboard of affected devices, extended warranty and returned the money for some angry consumers. However, in some corner cases, for instance, if you purchased the device while traveling abroad, if LG believed the device was exposed to moisture, if you lost the deadline for taking an action, or just found this old mobile in some forgotten drawer, you may have a BLOD affected device lying around. It’s too late to ask LG for help, but it’s not the end.
Break the loop
(Do not) Burn your cellphone
In order to make the device bootable again, we need an unlocked bootloader. If you already have one, just continue to next section.
Before doing that, we need to enable USB Debugging in the system’s settings. But, in order to do that, you need to turn on your device and properly boot it, something that the bug prevents us to do in the first place.
Caution: this is where things start going dangerous. You have been warned.
The internet is made of some brave and curious people. Someone out there discovered a temporary fix that makes the device bootable and operating: point a heat blower to the device, near the camera for some minutes. The problem is that it’s a temporary fix, and it makes the cellphone work only for a few minutes as well. This would make the solder reach temperatures near the melting point, slightly making everything in contact again for a short period of time. This should give you enough time to enable everything you need for breaking the loop. Since I don’t have a heat gun, I just used a common hair dryer and I can say that it worked! Start heating and testing, paying attention for not to burn your device. Also, those temperature variations could make things worse, so I’m not quite sure about how many attempts you have available.
Hot n Cold: u/Deconceptualist and u/subenvarg0 in Reddit said that the following also did the trick for booting the device: “Put the phone in a ziploc, then leave it in the freezer for 30 minutes.” It seems that “the cold contracted the housing or components enough to make the motherboard and big cores connect temporarily”. I tried that, but it didn’t work for me, just the hot version.
Once you managed to boot the device, you need to quickly enable debugging options. From the LineageOS wiki, this can be done in some simple steps using the phone:
- Open Settings, and select “About”.
- Tap on “Build number” seven times.
- Go back, and select “Developer options”.
- Enable “OEM unlock” option.
- Scroll down, and check the “Android debugging” or “USB debugging” entry under “Debugging”.
Make big.LITTLE just LITTLE
The worst part of our quest is done now, so it’s time to disable some cores. The bootloader begins the initialization of the system using the little cluster, and then tries to get the big cluster ready, and here is where the problem lives. The fix for it is quite simple: just a sort of sysfs and kernel parameter modifications that disable the big cluster. If there’s no cluster to fail, the loop will not happen.
The following steps require a computer with some Android tools installed (
adbandfastboot). I have tested in a GNU/Linux distribution, but it should work good in different OS’s as well.
Unlocking bootloader
First of all, we need to unlock the bootloader. Here are the steps, as described in LineageOS wiki:
- Enter in fastboot mode by pressing
Volume Down+Powerwhile the device is powered off. - Connect the device to your computer via USB.
- Once the device is in fastboot mode, verify if your computer finds it by
typing (you will likely need
sudo):
fastboot devices
- Now type the following command to unlock the bootloader:
fastboot flashing unlock
- Follow the instructions that appears on the screen and wait for the reboot.
Custom recovery
Now we need a customized custom recovery, that supports bullhead and uses only
4 cores. You can find one here,
look for the twrp-3.2.1-0-fbe-4core-bullhead.img one.
Back to the fastboot mode, use this command to flash the custom recovery:
fastboot flash recovery
For stock ROM fans
If you’re happy with the stock ROM (the last version officially supported is Android 8.1), there’s a guide that fix BLOD for that ROM from XDA: [TOOL][HOW-TO] [Nexus 5X] Bootloop of Death (BLOD) Workaround2. I haven’t tested myself, but if it works, congratulations! Your device is now ready to be used again. However, if you want a more updated experience, stay tuned.
Installing things
Now, I’ll proceed to create an almost degoogled system, using LineageOS 17.1 (Android 10) and MicroG. I ain’t getting in details about what is what, but here are a few handful links:
LineageOS
There’s no official LineageOS image for this device, just images independently
developed by someone in the community. In my experience, those ROMs have equally
quality, so the unofficial status is not a big deal.
theandroid02
is one of such developers, and for your convenience, has patched the image with
the BLOD fix, so you can just flash it without more hacks.
You can download the ROM at XDA forums.
Get back to your device in flashboot mode, and boot on recovery.
- Starting by wiping the device, both “Normal” and “Format data” mode (if by some miracle you haven’t lost your data yet, you will lost it for sure here).
- Go in Advanced menu and enable ABD Sideload. This method will copy the zip to the device and install it. To flash it, run
adb sideload <path-to-lineage-17.1-bullhead.zip>
When I was trying to do that, the device would complain something about error E3004 and the installation would fail. I believe that this is due to a bug in
the recovery image that I’m using. Here is what happens: in the installation
script of the ROM, the first line does a small sanity check, comparing if the
device is compatible with the ROM (i.e. is this a bullhead device?). This check
is very useful and I’m sure it saved some precious devices out there. However,
the recovery image and the install script can’t come to terms and agree that
they are both for a bullhead device. So I just removed the first line of
META-INF/com/google/android/updater-script:
assert(getprop("ro.product.device") == "bullhead" || getprop("ro.build.product") == "bullhead" || abort("E3004: This package is for device: bullhead; this device is " + getprop("ro.product.device") + "."););
Now, try again. It should work this time.
If you want to install core Google apps (Play, Service, etc) now is the time to do so. Download your favorite package for Android 10 and ARM64 here and install it using the sideload method described earlier. If you do so, the tutorial ends here: go enjoy your device!
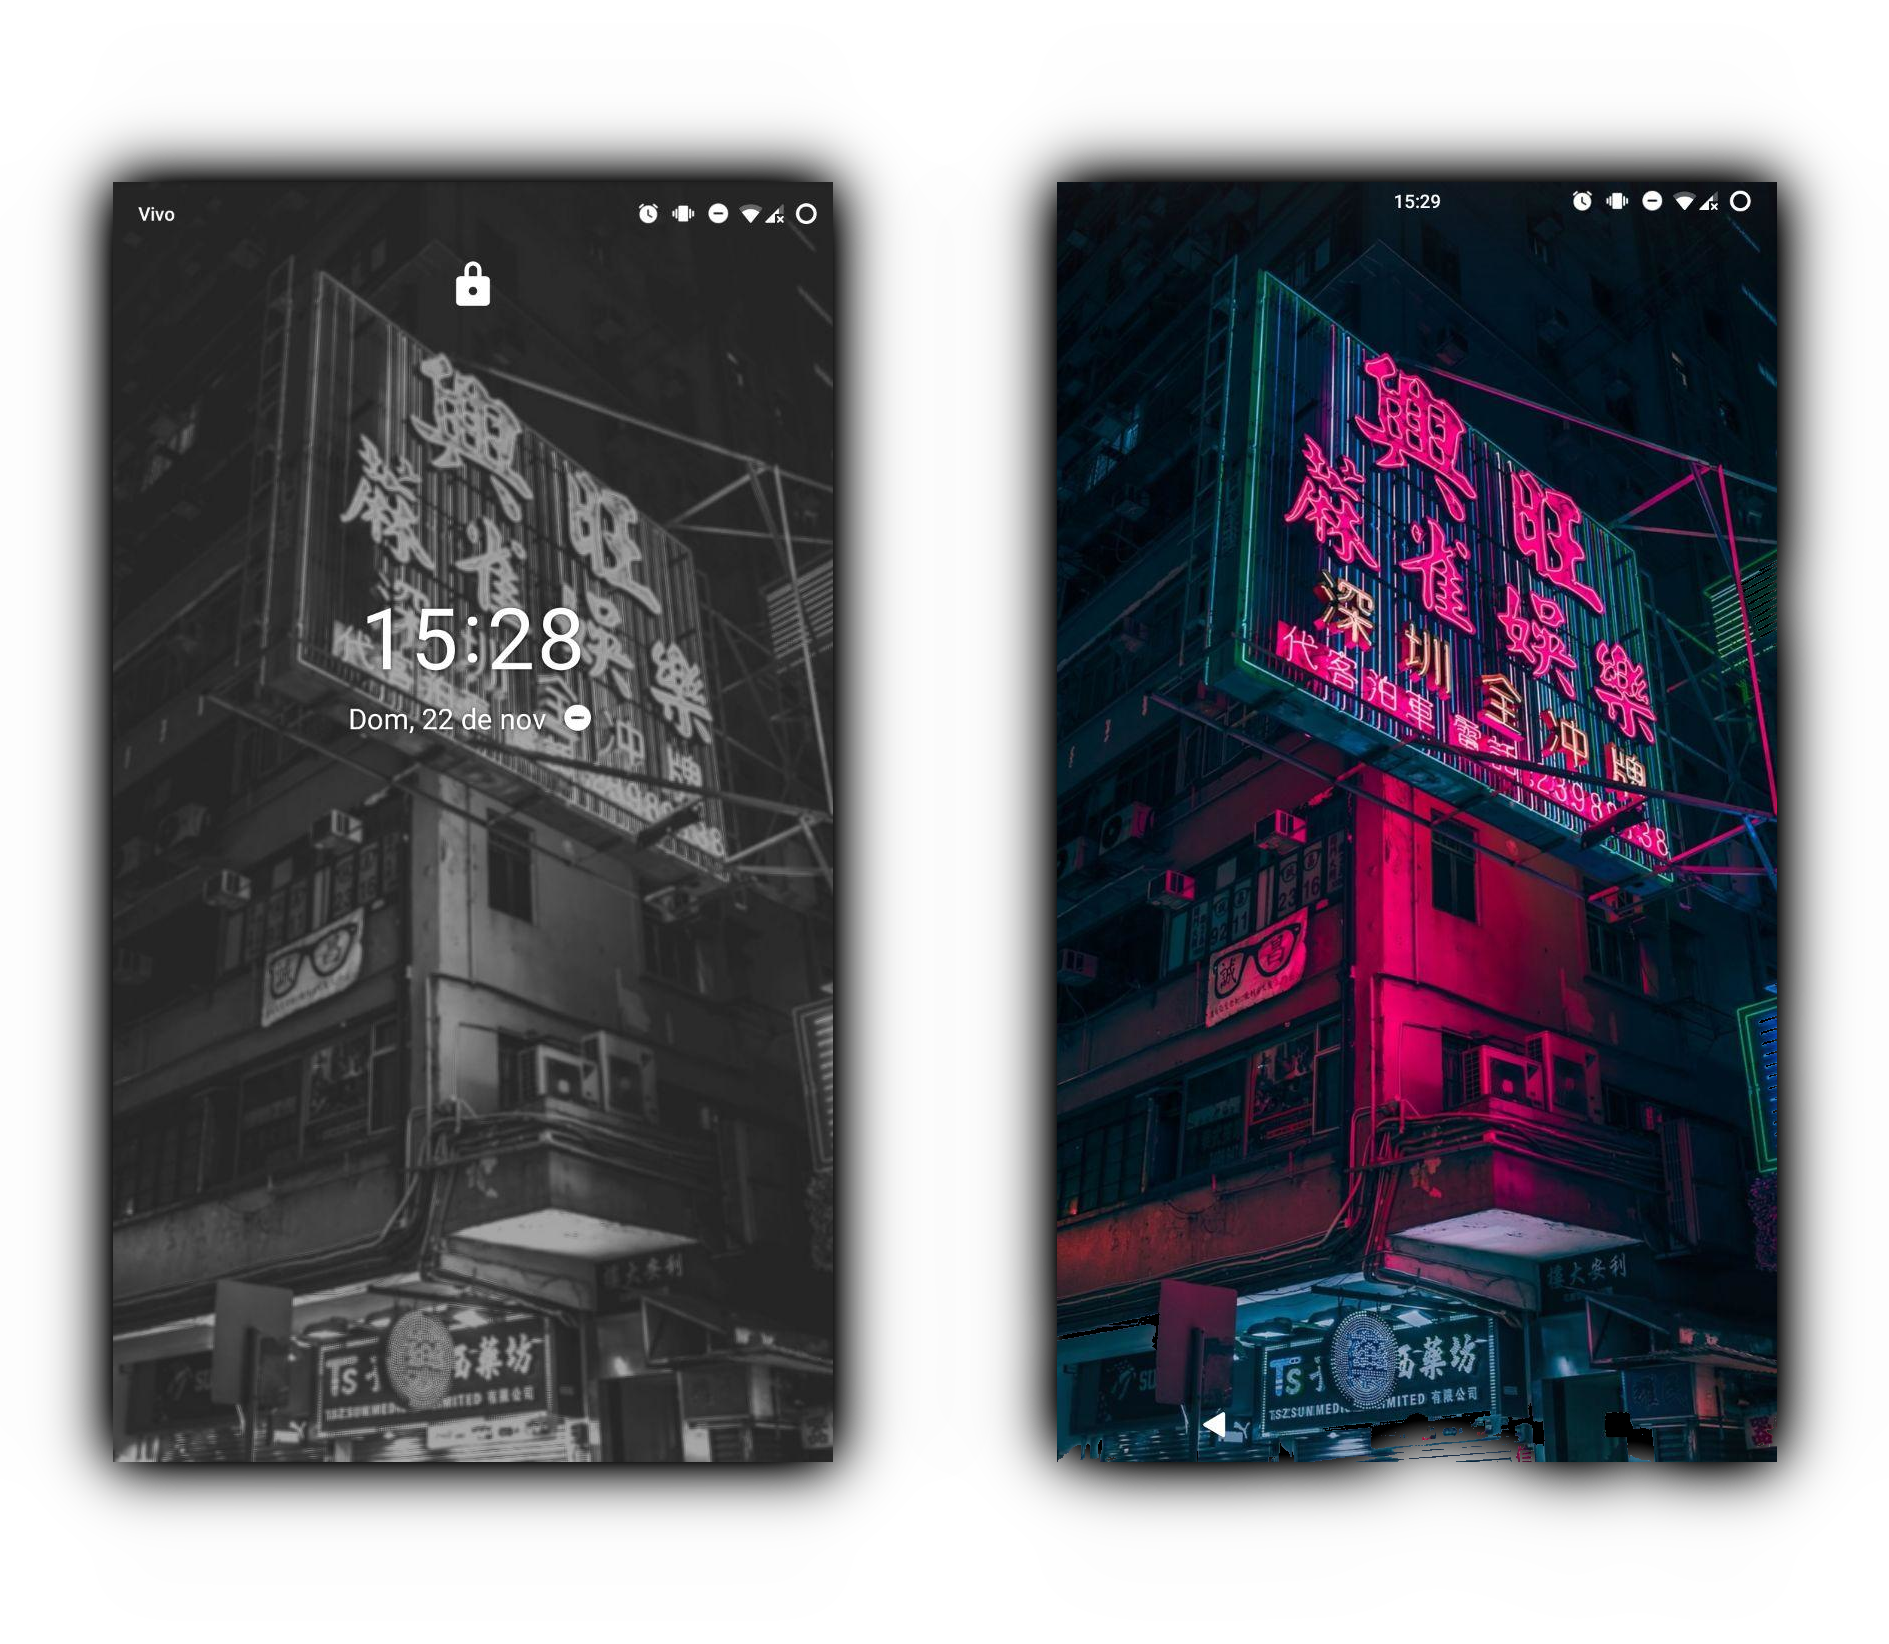 My clean LineageOS lock and home screen
The “Open” at “Open GApps” is about the scripts and the infrastructure created by the community on how to install proprietary software from Google. For installing open source alternatives for the later, keep reading.
MicroG and friends
In order to make MicroG work properly, we need to enable signature spoofing3,
so MicroG will pretend to be Google Services + Play Store and apps will work as
expected (at least, most of times). The first step for doing so is
installing Magisk,
a “suite of open source tools for customizing Android”. I installed version
20.4 and it worked fine. Use the adb sideload method to install it and boot
your phone.
Open Magisk, go to Download and search for the following modules: Riru Core and Riru EdXposed. Those modules will help us to modify the behaviour of apps. You will also need to install EdXposed Manager. A pop up should appear notifying that, but you can also download it here.
Open EdXposed Manager and install the module fakegapps, finally allowing signature spoofing. You need to manually enable it inside EdXposed. Boot the system in recovery again. Now, it’s time to install MicroG.
FriendlyNeighborhoodShane developed a nice zip containing all the software you
need to use MicroG. I
downloaded the NoGoolag-2.7 version at GitHub.
To learn more about the difference of releases, check out the
README.
Boot the device once more, and open the MicroG self test, in MicroG settings.
Everything should be marked and looking good there. A lot of apps are really
not that useful without Push Notifications, so you may want to enable it at
“Device registration” and “Google Cloud Messaging”. There’s an app called
Push Notification Tester
that you can download from Aurora Store (the alternative to Google Play) and check
if it’s working as expected. If it’s not, try dialing *#*#2432546#*#* and
rebooting one last time. It might take some minutes (and some reboots) in order
to start working, so be patient.
Bonus: Google Camera
You may have heard about Google Pixel series and how its camera is very impressive. While some manufactures need to use two or three cameras to get the same quality for a picture, Google achieves similar results using artificial intelligence tricks, like taking a lot of frames and merging the best ones.
However, this is not widely available for all devices. First, the hardware needs to support some functions like raw capture and ISO control, and the Android version needs to export those functionalities. In order to support all those features, the phone needs to have API Camera2 Level3 and you can use this app to check the support on your device: Camera2 API Probe. Spoiler: Nexus 5X has full support. What is left to use the app? It seems that Google doesn’t use the normal Android API, they are doing some stuff that makes the application hard to port for other devices… what is something different on the Android ecosystems, where you usually write the app once and it works everywhere.
Someone did the hard work for us and ported it to Nexus 5X. You can download it at Chromloop and check the thread at XDA. I must say that the app didn’t worked in my setup. Maybe is MicroG, maybe is LineageOS 17.1, I don’t know for sure. If you ever made it work for you, please share with me what have you done. There is a huge repo of unofficial Google camera ports maintained by Celso Azevedo. I tried a few, and none have worked.
What did worked, however, is the Go edition, a simplified version that doesn’t make the best from the hardware but it does some basic tricks. I downloaded it here. It’s up to you to test them and find out what takes good pics.
Final words
 The Bootloop of Death as seeing in a microscope
This work would be impossible without the huge effort from random folks around the internet. All the links that I used to create this guide are scattered in this post. Thanks for getting here and for the courage that takes to bring to life a five years old device.
-
Discussion on Reddit.
-
Discussion on Hacker News
-
This problem is similar to what happened in the first generation of Xbox 360, where the incorrect type of soldering leads to cracks in high temperatures. ↩︎
-
This link also has a lot of good information about the problem. Read it carefully if my guide doesn’t help you. ↩︎
-
Free Software Foundation Europe wrote a cool article explaining what is signature spoofing in the context of Android. ↩︎