Talk is cheap, show me the code: TL;DR
One key part of Valve games is the ability to create custom user content. The Source SDK, with the Hammer Editor and the in-game developer console (with a crazy amount of commands) have allowed the community to create tons of contents, including maps and new game modes, that eventually leaded to games like Counter Strike, Portal and Garry’s Mod.
This tutorial will focus on how to create new maps for Counter Strike: Global Offensive using the Hammer Editor in Linux.
To get started, I’m assuming that you already have a functional GS:GO game installed and working on your Linux machine. I’ve tried this with AMD GPUs and Intel Integrated Graphics. If you have problems running in NVIDIA, try using a staging version of Wine. Also, I’m using ArchLinux with the most recent Proton, kernel and Mesa to date of writing (May of 2020). As the stack evolves, the steps described here are subject to change in the future.
Crafting the hammer
Downloading some steel
There is no native release of Hammer, so we need to use the Windows version. To get it, install the “Counter Strike: Global Offensive - SDK” from your library, in the “Tools” section. Not everyone is able to access the tool however: one needs to either had purchased the game when it was paid, or had bought the Prime Status Upgrade. If you get Prime by playing the game, you still need to buy the status to download the SDK. This is done probably to restrict low quality items to be sent to the workshop, requiring an investment from wannabe mappers.
The tool has some sort of integration with the game files, and expects the
Windows version of the game. To get those files, one could download the Windows
version of the game from Steam library, but there’s a more clever way to do so,
using the Steam console, a command line interface to manage Steam
library. To open it, copy and paste steam://open/console in your web
browser or run steam -console on your terminal. A new tab “CONSOLE”
will appear right side of your profile tab. Finally run download_depot 730 732 to download the Windows files. This command will download, from game
730 (CS:GO), depot number
732 (Windows binaries).
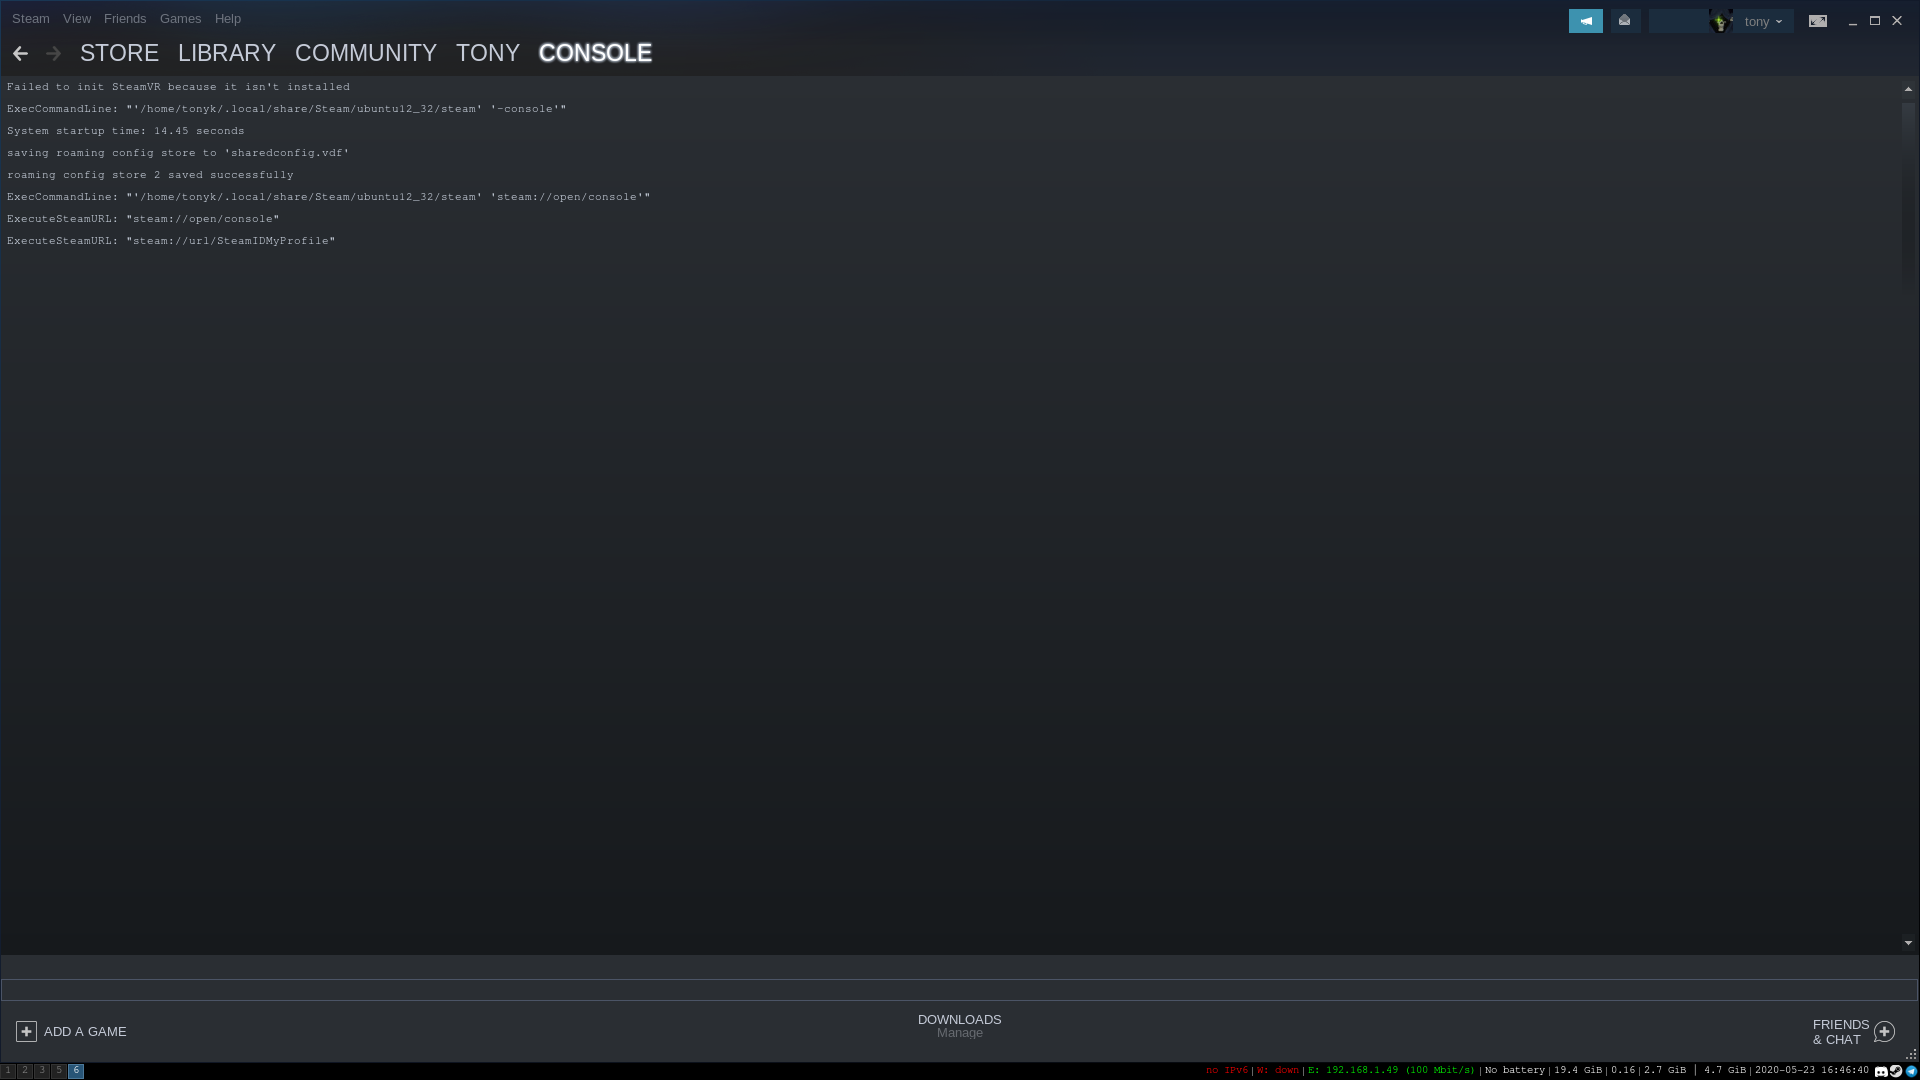
Steam console
Moving parts
Go to your Steam local folder (cd ~/.steam/steam). The files that you just
downloaded will be found at ubuntu12_32/steamapps/content/app_730/depot_732/,
and we just need to copy then to the CS:GO folder. ubuntu12_32 will be your
folder independently of your distro, since this is how Steam Runtime deals with
their libraries. If everything works fine, you can deleted the app_730 folder
later:
cp -r ubuntu12_32/steamapps/content/app_730/depot_732/* "steamapps/common/Counter-Strike Global Offensive"
Hammering some nails
This should be enough to open and run the editor. Just click “Launch” in your library and a nice menu from 90’s should appear. Double click the Hammer option and after some seconds the tool will appear.

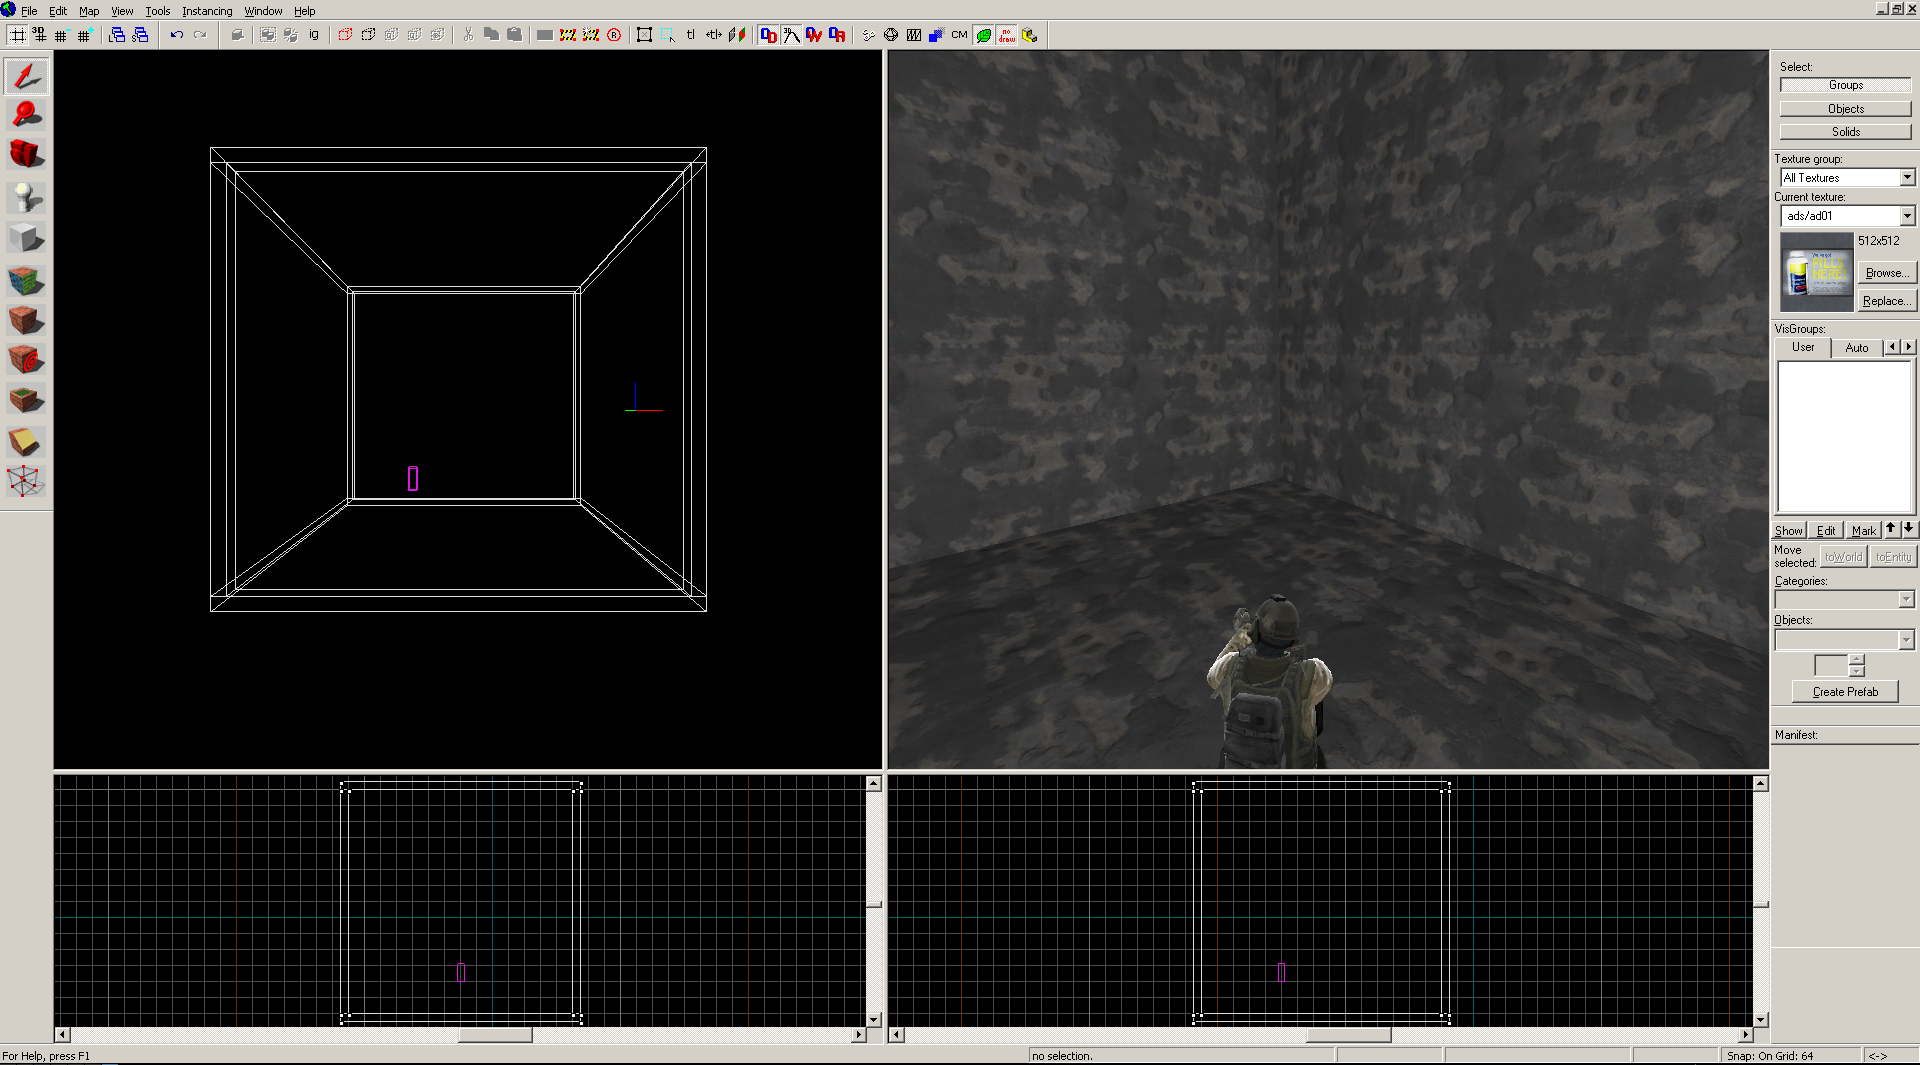
Let’s create a simple map to test our game. Use the block tool (Shift + B) to
make a big cube. It needs to be big enough to fit a player model, more than 192
units of height will be more that enough. For reference, the player camera has
64 units of height. After making it with the proper size, press enter to create
the cube. Use “Tools > Make Hollow” to create a border for the map. With the
Entity tool (Shift + E), place a spawn point for the player
(info_player_terrorist) somewhere inside the cube.
Too complex? I have create a map for you with this all done, download here and open with Hammer. Save a copy in the default folder:
~/.steam/steam/steamapps/common/Counter-Strike\ Global\ Offensive/sdk_content/maps/
To compile the map, press F9 and leave the options BSP, VIS and RAD with “Normal”. Select HDR for RAD, “Don’t run the game after compiling” and “Wait for keypress when done compiling”. Press OK and let the magic happen.

Compile menu
If everything works fine, let’s test it. As far as I know, we can’t open the game from the tool, since it will try to open the Windows version in the Windows way. The workaround is fairly easy. Open your native version of the game, and open the console. If you never opened it before, go to “Settings > Game Settings > Enable Developer Console: Yes". Now hit the ` key (grave) to open it. Run map de_test, and your custom map will open. Congratulations! Now go there and create Dust III.
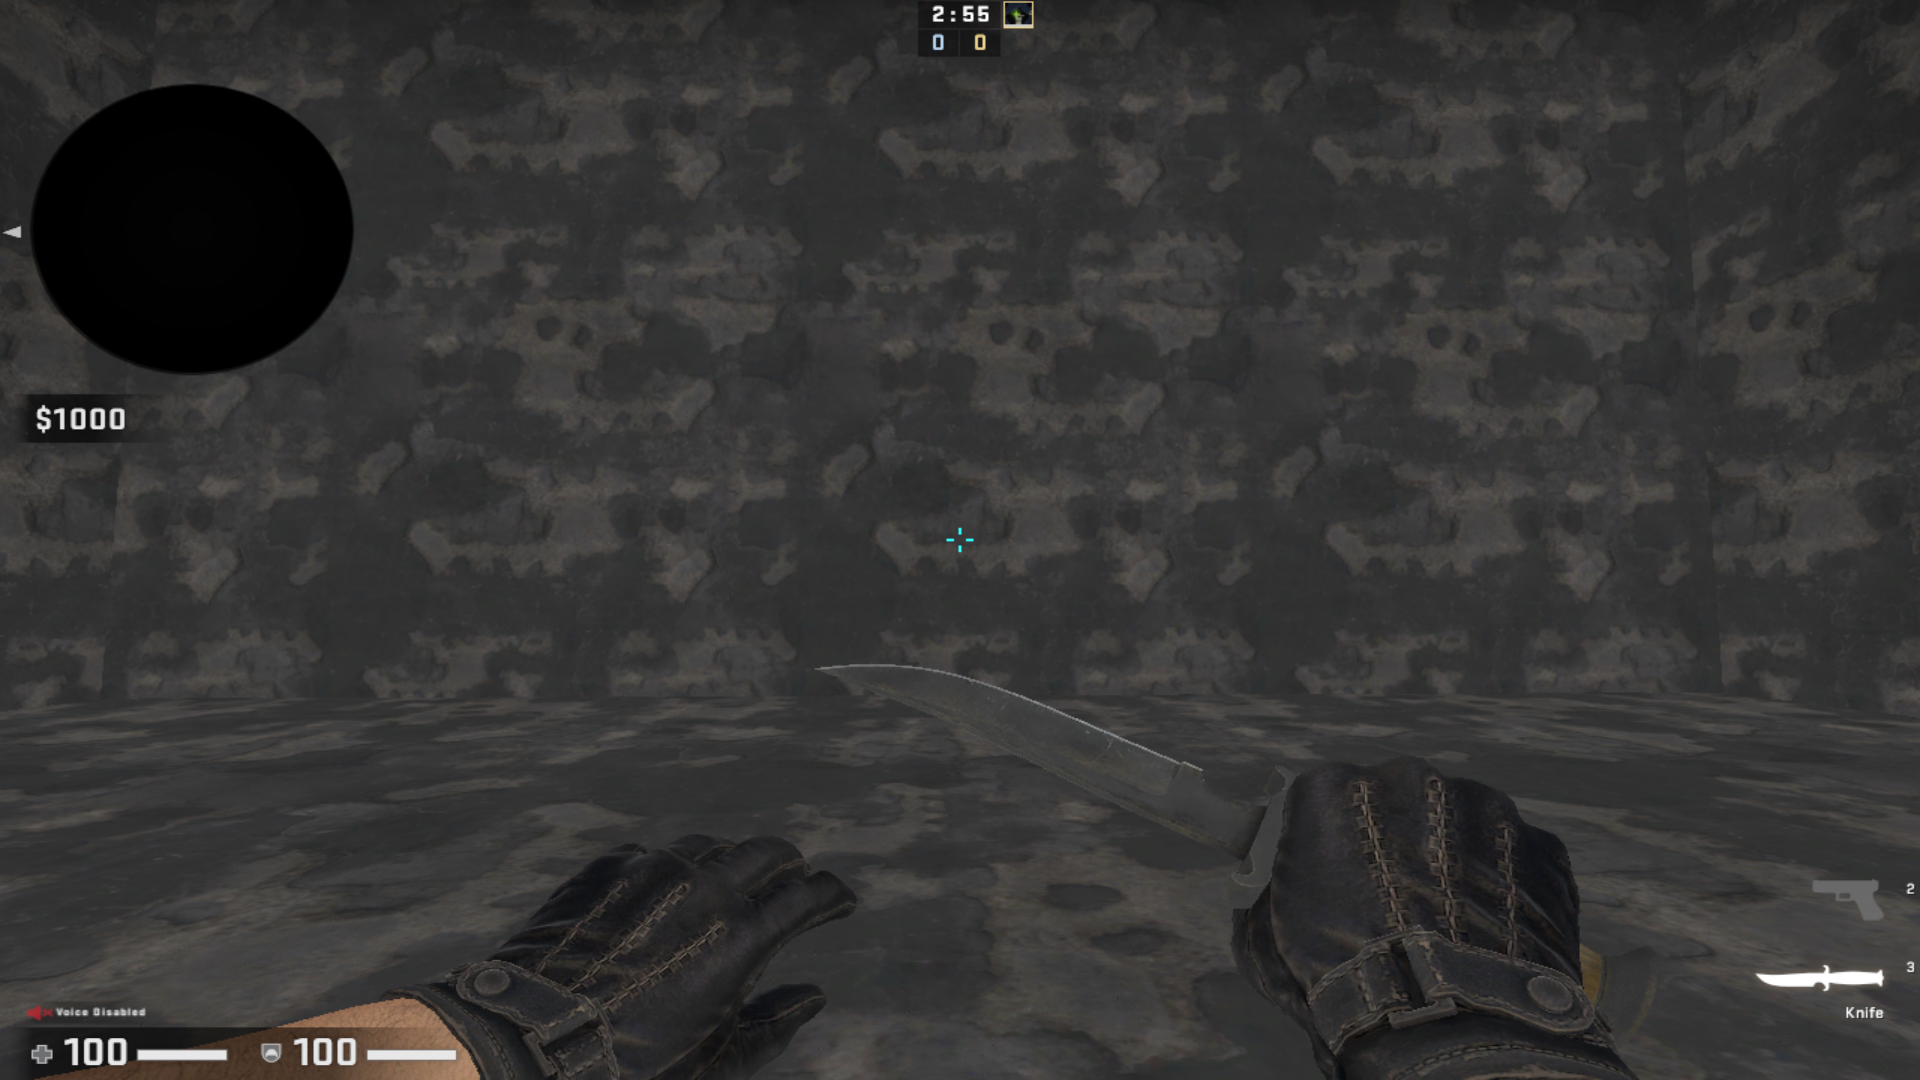
de_test in action
Expert options
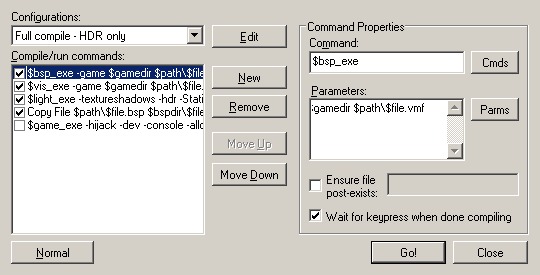
If you want to use the “Expert” compilation options (and you want to do that
for calculating the light of your objects), you will find trouble in the first
time. This happens because in Windows the tool works fine if you use the name
of the map’s file without the extension .vmf, but this will not work in Wine.
To fix that, just check the parameters for $bsp_exe, $vis_exe, $light_exe
and search for $file. This is the source file of the map that you are
editing, and just edit the parameters from $file to $file.vmf after that
variable and you should be good. It is not needed to edit the Copy File
options since it already has the file extension. I didn’t edit the option
$game_exe since I wasn’t able to run the game from the tool anyway.
Expert options menu
Dealing with leaks
If your map has leaks, it
means it has problems that makes it impossible to compile. Your map should be a
closed box, without any opening to the external world, otherwise the compiler
will not be sure what is “inside” and what is “outside” of the map. If you don’t
place any spawn point, the tool will not compile the map as well. The BSP step
will fail, and it will warn you in the console output and won’t generate a
.prt file.
In Windows, the VIS step will nicely notify the user that the file wasn’t
found, but at Wine we get a page fault probably due to some
behavior that doesn’t exactly matches the way Windows does. If
the compiler fails with a long list of memory addresses and fails, check the
file <map_name>.log in the same folder you saved the map and search for
“leaked”. You can also run just the BSP step of compilation, since is when the
maps is checked for leaks. After a leak is found, a file is created to show the
holes in your map. Use “Map > Load Pointfile” to open it.
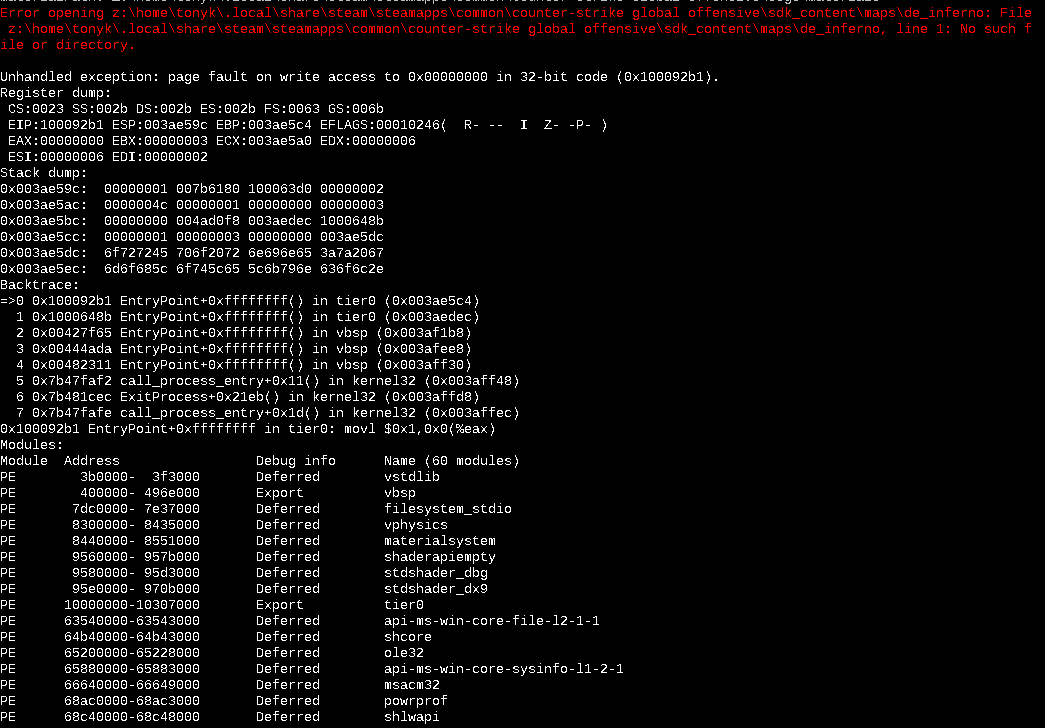
A beautiful page fault
Native port?
Valve is by far one of the companies that invests the most for the Linux gaming
scene, mainly driven by development of Proton and their high quality
native games, so is natural to believe that there is a chance that Valve could
release a port of the tool for Linux. However, when people in Valve’s GitHub
project asked for a native port,
kisak
pointed to
this comment:
Hammer relies heavily on AFX/MFC which are windows only libraries. You’d have to essentially rewrite the tool to get it working on non-Windows operating systems.
AFX/MFC stands for “Application Framework Extensions” and “Microsoft Foundation Class Library” that, as you may guess, are Windows-only libraries. Valve would then need to rewrite all the tool backend to get it native, or implement an emulation layer for those libraries, just as Proton does, so I don’t think we will see a native port of Hammer itself, but maybe we will have more lucky someday if we have a new editor around.
Bugs in Wine
Sometimes applications in Proton/Wine don’t behave exactly like in Windows, and this is a bug. There are some undocumented behaviors that Wine relies on to run properly. For instance, in the case of this bug, it could be about some uninitialized variable or use after free. Then, Wine needs to implement the buggy in order to correctly run Windows applications. This also happened when .NET team at Microsoft ported the old C# compiler from C++ to C#:
Writing a new compiler for C# means trying to match the old compiler bug-for-bug. And I’m not just talking about known bugs, but those unknown and unintended behaviors that developers have found and come to rely on, often unknowingly.
Conclusion
I haven’t tested all aspects of the tool, but I could compile and run some
simple maps made by my friends and some maps from the examples files. I didn’t
try to use any of texture creating tools (VTEX and VFTEdit), but since
Hammer and its build chain are far more complex than them, I believe it won’t
be hard. If you found major bugs running the Hammer Editor through Proton, the
best place to comment is in the
issue tracker of the tool on GitHub,
where I found the workaround I used to create this post. Thanks for the users
Erik Bročko and
Eoin O’Neill for the initial research in
this topic and for sharing it in GitHub.
I opened de_inferno.vmf to see how the tool performed with a more complex and
finished map, and it’s the pre-2016 version of the map. The tool was a bit lag
when navigating the 3D preview of the map, like if it wasn’t using hardware
acceleration. The compilation took some minutes as it was doing the hard work
using only one thread. When finally completed, the map was working as expected.
As I said before, compiling with basic options won’t give you proper lighting
and color for some objects, you will need the “expert” options to use the
$light_exe that will give you a normal map.
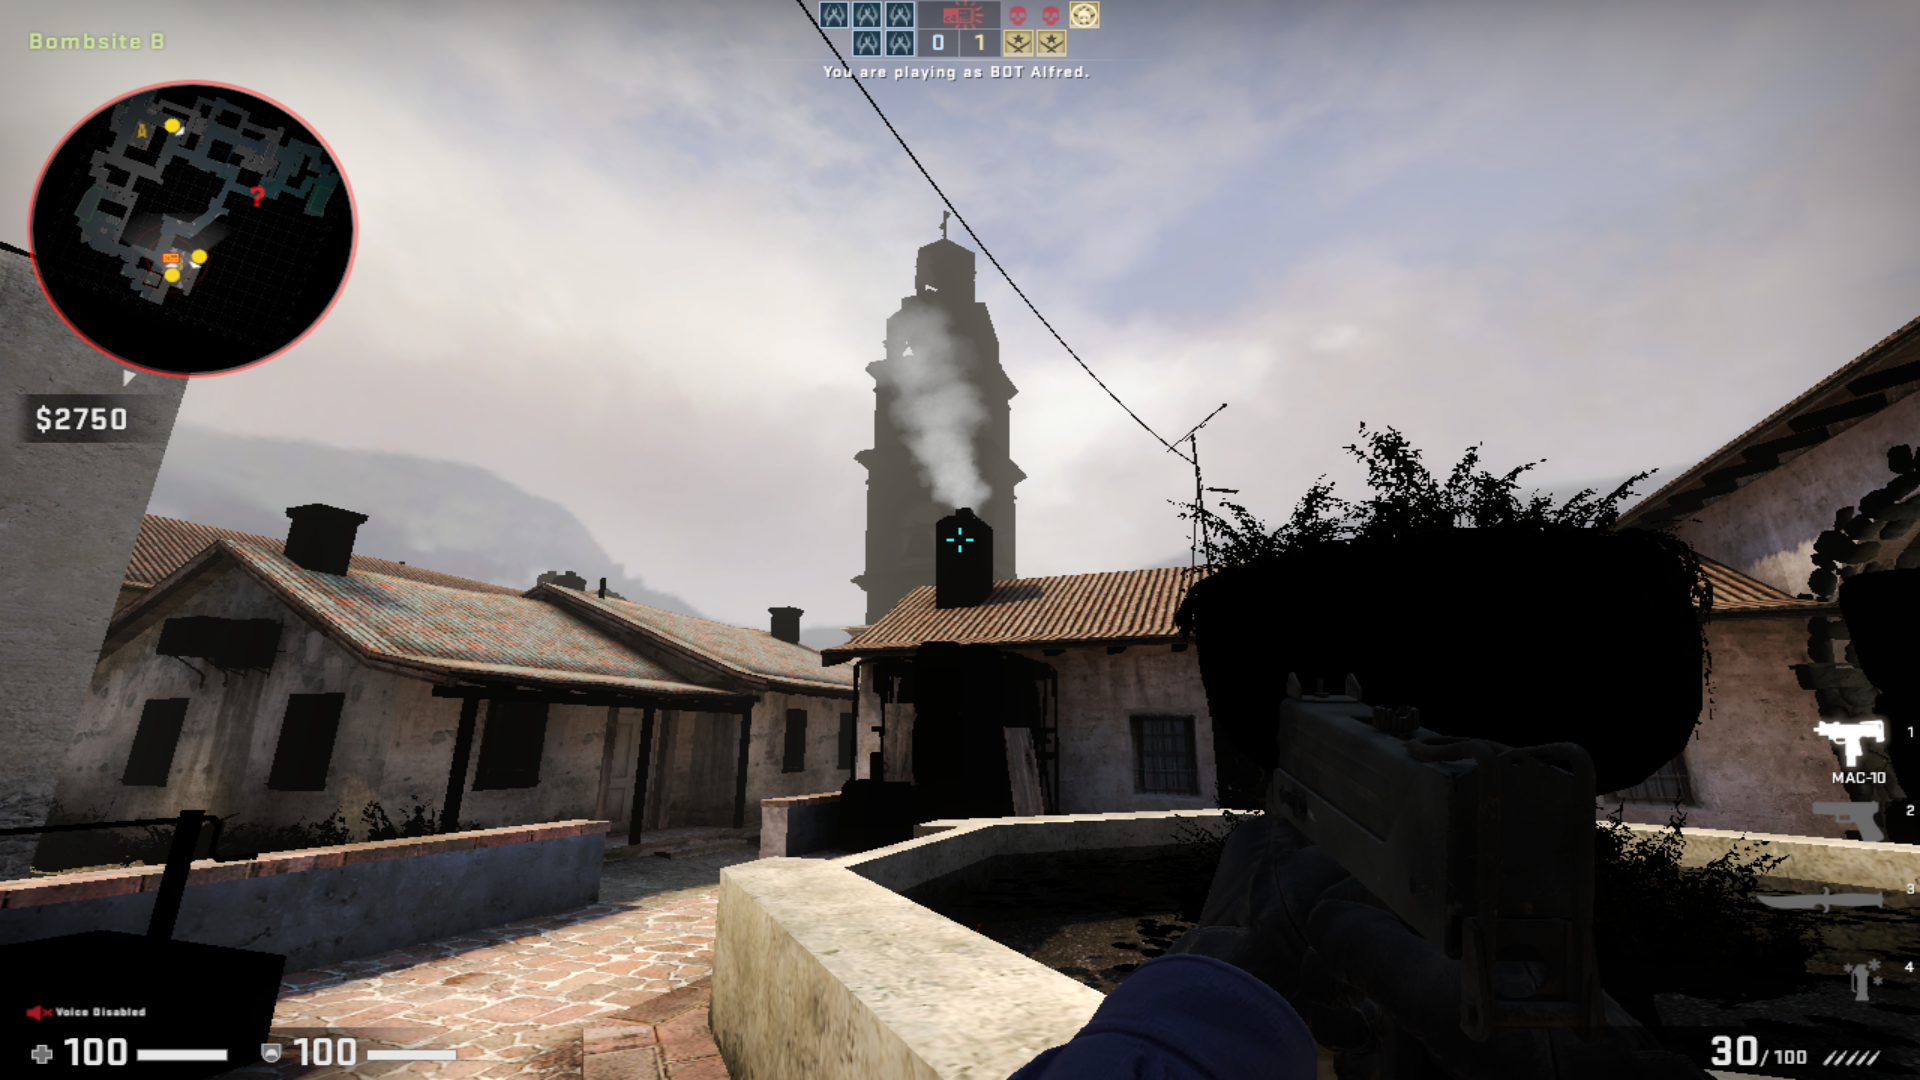
de_inferno with basic compiling options

de_inferno with “expert” compiling options
More resources
Since the goal of this post is about getting the tool running, rather than using it, here are some recommendations of resources about that:
TL;DR
Run this in Steam console:
download_depot 730 732
Then in your terminal:
cd ~/.steam/steam && cp -r ubuntu12_32/steamapps/content/app_730/depot_732/* "steamapps/common/Counter-Strike Global Offensive"
Append .vmf at all $files without any extesion in expert options. The tool
will be ready to open and work. Beware leaks in the map. Save the map in the
default folder (~/.steam/steam/steamapps/common/Counter-Strike Global Offensive/sdk_content/maps/). Open the Linux version of CS:GO, type in console
map <map_name> and have fun.
Thanks to lcagustini, chinen93 and leandrohrb for reviewing and testing this tutorial!
-
Discussion on Reddit.
-
Discussion on Hacker News.